Rustic Apple Tart with Press-In Pie Crust
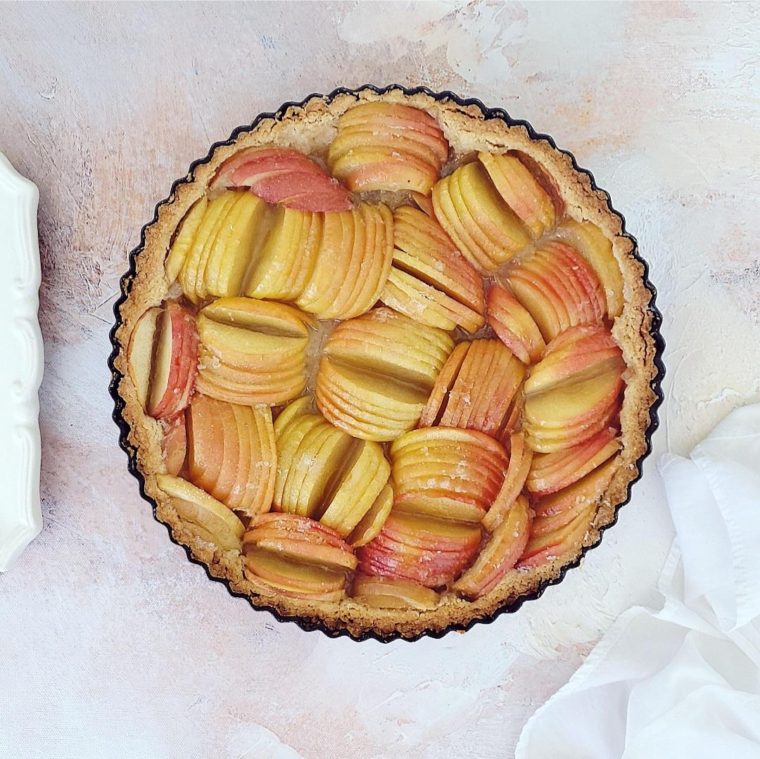
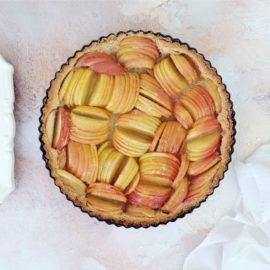
Give your rolling pin the day off and try this Rustic Apple Tart with Press-In Pie Crust. Made with simple ingredients, this fuss-free apple tart is a fall favorite.
I like to put things in writing. This past week I’ve penned a to-do list, a to-don’t list and a resignation letter to my boss. And, since there’s no such thing as a coincidence, all 3 are intricately connected. Finding a new job topped my to-do list and staying at my current job was a to-don’t (thus, the need for the resignation letter). Basically, I cancelled my job like my gym membership and I couldn’t be happier to not be working or working out.
Sadly, my jubilation is only temporary: I eat too many desserts to stop exercising and I can’t afford desserts without a job. Life is cruel that way. Luckily, I’ve already found another company willing to finance my food addiction. No, it’s not my dream job taste-testing pies for the Pioneer Woman, but it’s still a pretty sweet position. And since I’m no longer working 65 hours a week, I have plenty of time to make my own pies.
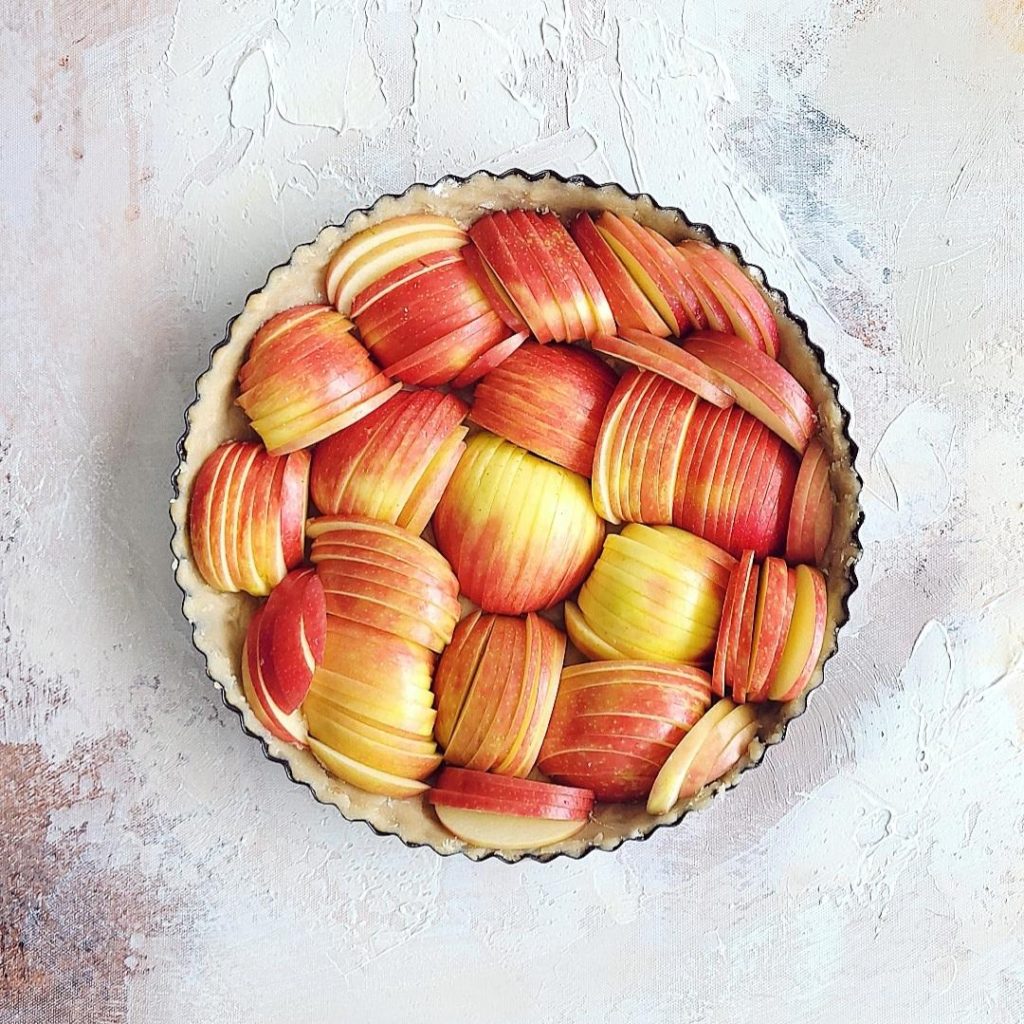
Then again, I’m too lazy to make a real pie. Lacking the patience for dough rolling and crimping, today I’m opting for a tart with press-in crust. And since I’m already taking the easy way out with the dough, the filling may as well follow suit. That’s why I’m cramming as many sliced apples into the crust as possible and topping them with nothing but cinnamon, sugar and butter.
The beauty of this dessert is that comes together with a no-roll crust and 4-ingredient filling. It’s homemade without the hard work. So whether you’re having a last minute sugar craving or a take-this-job-and-shove it celebration, this Rustic Apple Tart is a quick fix treat to satisfy any need.
Wondering how to make apple tart? Here are some tips to help you out:
Ingredient Tips
Crisp apples with tender skins like Honeycrisp, work best for this recipe. Granny Smith are not recommended because the skins are too tough.
Be sure to cool the melted butter before incorporating with the remaining pie crust ingredients.
Preparation Tips
My tart baked in a 9-inch tart pan with a removable bottom, but a 9-inch ceramic tart pan or a 9-inch pie plate can be substituted.
How to Store Rustic Apple Tart
To store, cover tart tightly with plastic wrap and refrigerate up to 3 days.
Can You Freeze an Apple Tart?
Yes, you can freeze this apple tart up to 3 months. After baking and cooling completely, wrap tart tightly with plastic wrap then with aluminum foil and freeze. Thaw overnight in the refrigerator before serving.
I hope you enjoy this easy Apple Tart with press in pie crust. Please leave a comment and review below once you have a chance to try it yourself. And, while you’re at it, sign up for my Recipe Newsletter so you never miss a tempting recipe.
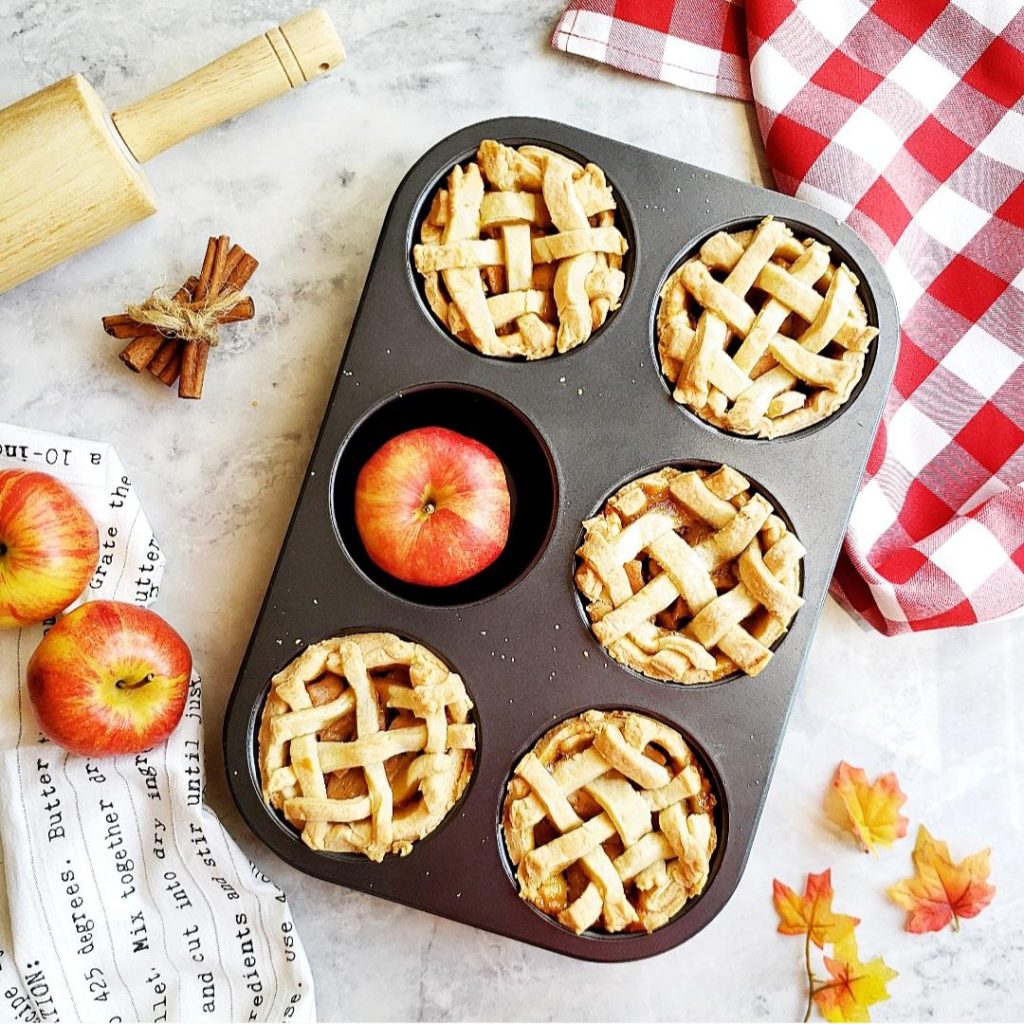
Finally, if you like apple desserts then you’ll love this recipe for Jumbo Muffin Tin Apple Pies. Twice as nice as minis, these jumbo muffin tin pies are made with fresh, crisp apples and are perfect for fall.
Rustic Apple Tart
Ingredients
Tart Crust
- 1 1/3 cup all-purpose flour unbleached
- 1/4 cup light brown sugar packed
- 1/4 tsp sea salt fine
- 1 tsp vanilla extract pure
- 1/2 cup unsalted butter melted and cooled
Apple Filling
- 4 -5 Honeycrisp apples
- 1/4 cup granulated sugar
- 1/4 cup unsalted butter cubed
- 1/2 tsp ground cinnamon
Instructions
Tart Crust
- Add flour, brown sugar, salt, vanilla extract and melted butter to a mixing bowl then stir with a spoon until combined.
- Press crust mixture into the bottom and up the sides of a 9-inch tart pan with removeable bottom.
- Place tart pan in the freezer for 30 minutes to allow crust time to set.
Apple Filling
- Preheat oven to 400 degrees.
- Cut the side cheeks off apples then discard the cores.
- Using a sharp knife, cut each apple cheek into thin, equally-sized apple slices. Keep slices together to maintain their cheek shape.
- Remove tart pan from the freezer.
- Arrange sliced apples onto the crust, one cheek at a time, until the tart pan is completely filled with apples.
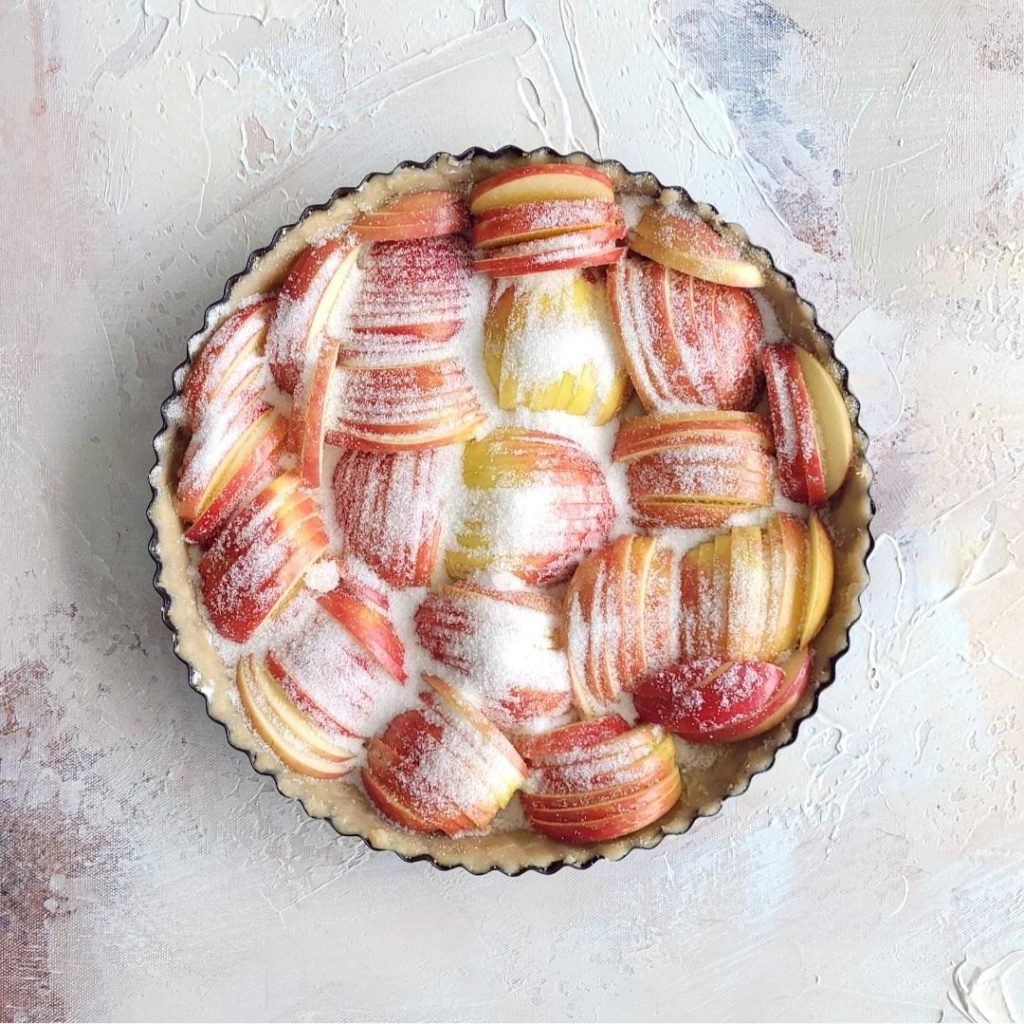
- Sprinkle granulated sugar onto apple slices.
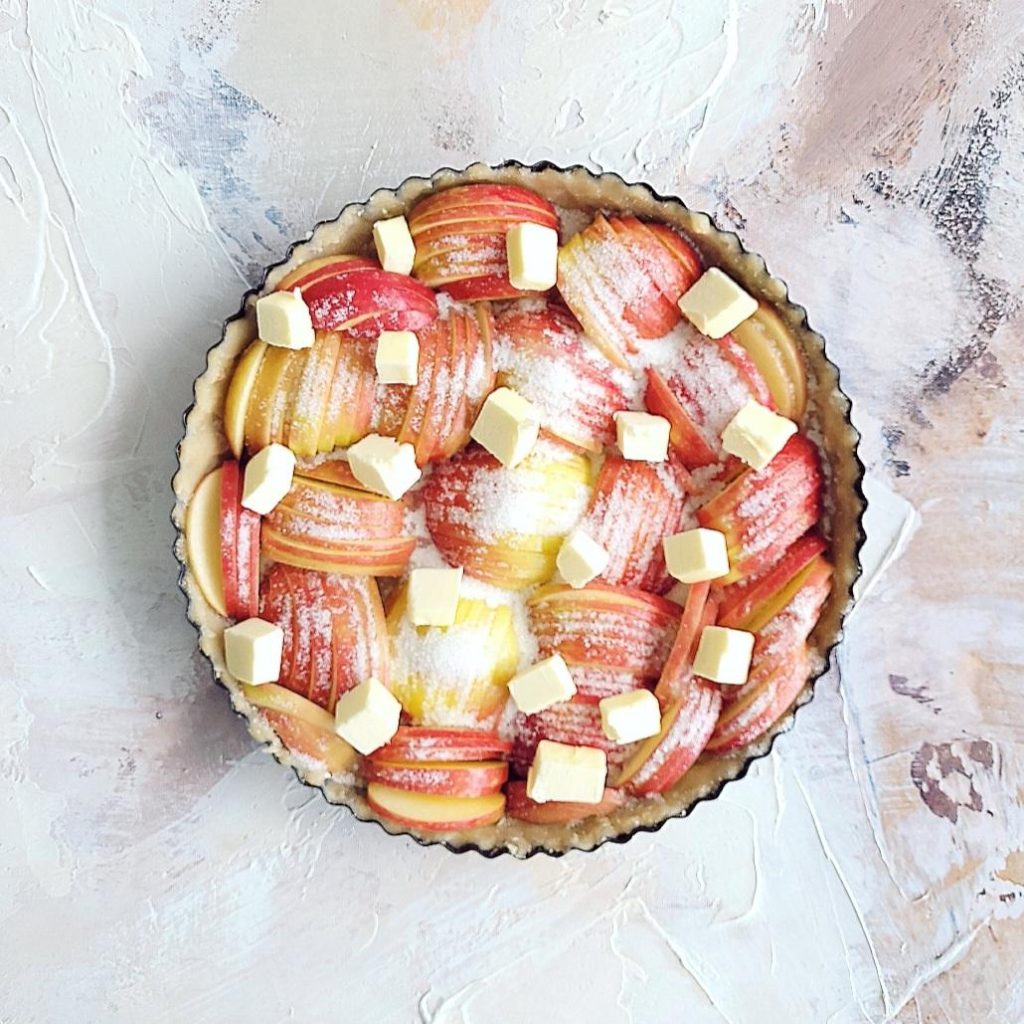
- Top apples with cubes of butter.
- Sprinkle tart with cinnamon.
- Bake approximately 35 minutes or until the apple slices are tender and the crust is golden brown.
- Remove tart from oven and cool on a baking rack.
- Slice and serve.
- Cover and store leftovers in the refrigerator up to 3 days
